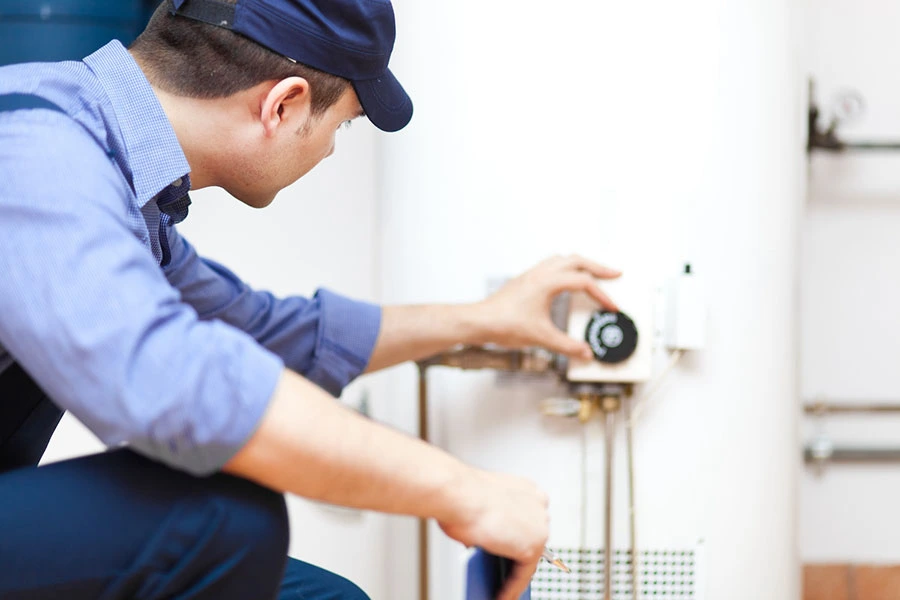
Who doesn’t love the luxury of a hot shower first thing on a cold, winter morning? Just as you’re working harder to warm up during the chilly months ahead, your water heater will be working harder as well. Make sure to start the season off right by checking your water heater for potential failure points and performing routine maintenance that will keep it running efficiently through the new year.

Photo: Minerva Studio via shutterstock.com
Many of these things can be done by any homeowner with some do-it-yourself enthusiasm, but if you run into obstacles (or don’t know what to do next!), call the experts at Doctor Fix It Plumbing, Heating, Cooling and Electric to come out and help. Read on for six things you should do now to get winter-water-heater ready.
Visually Inspect, Including Vents
The first step to getting your water heater ready for winter is to visually inspect all the elements. Look for any cracks on the outside of the pipes; sometimes you might see rust stains around connections or along a pipe – that’s an indication of a crack or leak, and you should call a professional right away. Make sure to also inspect the intake and exhaust vents for your unit; in winter, snowdrifts can pile up and partially block an intake vent, or small animals may be drawn to the warmth of the exhaust vents. Properly blocking these areas with mesh or snow barriers can keep your unit running more efficiently all winter.
Test Pressure Release Valve
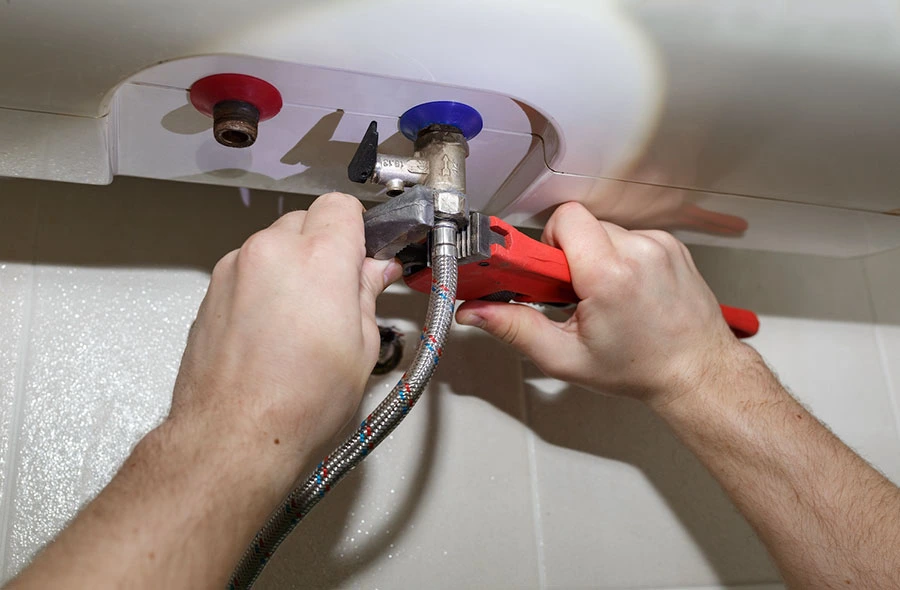
Your water heater has a pressure release valve (TPR valve) on the side that should pop if pressure builds up and things get too hot! To check if the valve is working, put a bucket under the water discharge pipe, and then flip the valve. You should see water release into the bucket or hear air escaping– if it doesn’t (or keeps flowing and won’t stop), then call a pro to replace the valve.
Check The Temperature
Freezing temperatures outside mean that your water heater will be working harder to warm up for your daily shower. Take the time to check the temperature setting on your water heater and make sure that it’s not above 120 degrees; anything hotter will not only increase your risk of burns and scalds, but it will take a lot more energy to heat water every time. If your water heater doesn’t have a temperature gauge, you can use any cooking thermometer to test the temperature from your kitchen tap.
Insulate Pipes And Tank
Just as you insulate your pipes outside during the winter, it doesn’t hurt to add some insulation to your water heater as well. If your tank is on the newer side, it’s probably already insulated (check the date on the unit itself or on your city inspection tag to get a rough estimate of age), but if it’s older, adding a protective jacket can help with efficiency. Similarly, consider outfitting the pipes with insulated tubing to minimize heat loss during the coldest months.

Photo: Balakate via shutterstock.com
Flush The Tank
Over time, sediments from the water will build up in your hot water tank and eventually clog the pipes (or even worse, cause a burst!). Regularly flushing your tank will help wash out those deposits and keep things running efficiently. You can flush a tank yourself using a hose that you direct downhill (open several faucets in your house as well to help move things along), but if you’ve never done this before, it’s best to call an expert. Professionals can do it safely (remember, this water is HOT!) and can evaluate your level of sediment to give you guidance for future flushes.
Call The Pros
Keeping up with regular maintenance yourself can save your water heater – and your wallet! But sometimes, you just need a professional to diagnose or fix a problem. If you’ve run into obstacles with any of the checklist items here, calling Doctor Fix It Plumbing, Heating, Cooling and Electric to finish the job is your best bet – don’t create a new problem while you’re trying to solve the old one yourself!


